How To Edit Your Photos Without Losing Quality?
Looking for a way to edit your photos without losing quality? Well, here is a complete guide, tricks, and methods that you can use in order to do so! If you have a hang of your basic photo editing, camera, and exposure understanding, it’s time to learn a few editing terms and skills that broaden your artistic vision. This artistic term is also known as post-processing or postproduction and is a process of making adjustments to snaps in any editing software.
Why do We need to Edit a Photo?
One thing that comes up again and again when we talk about the term “Photography”, It’s Editing. So, a lot of queries come up in our mind to learn e.g Why you should edit your images? how you should edit a photo? Which software should you use for editing?
You must keep in mind, your images always need to be processed because your camera takes them in raw file format. And editing helps to get the best possible images or a close look at what you imagined. It enhances your image quality and your style.
Steps For Editing with Online Photo Editors
Here are the following key steps for photo editing without losing quality given below:
- Resize and crop images
- Spot Or Object Clean
- Adjust white balance
- Adjust contrast and exposure
- Adjust saturation and color vibrancy
- Flip and Sharpen images
- Finalize and save
All picture editors’ online apps have basic editing techniques that enhance the quality of your images and make them more powerful. But the advanced editing tools will provide additional features. The above-given steps are the basic features of almost all online tools.
1. Resize and Crop your images
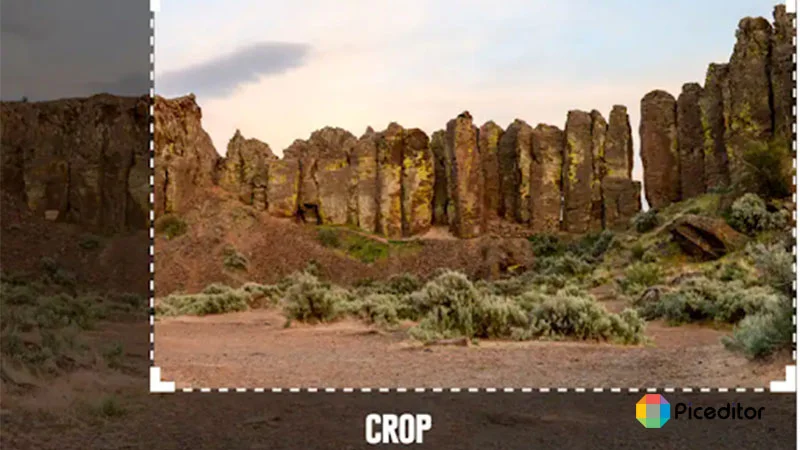
First, resize your image and crop the main part of the photo which you want to edit. Add distracting elements at the edges of the frame and the subject will be slightly repositioned.
2. Spot or Object Clean
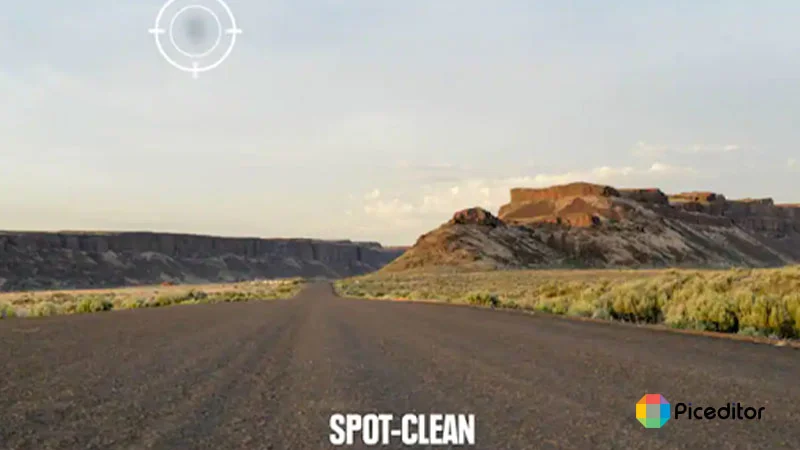
The most editing feature is a spot or object removal in editing program tools. Like outdoors you can see in the given image is dusty, cut down on this by using a lens brush regularly. Set the location of a spot on the image, and work on around until you have gotten spot free image.
3. Adjust the White Balance
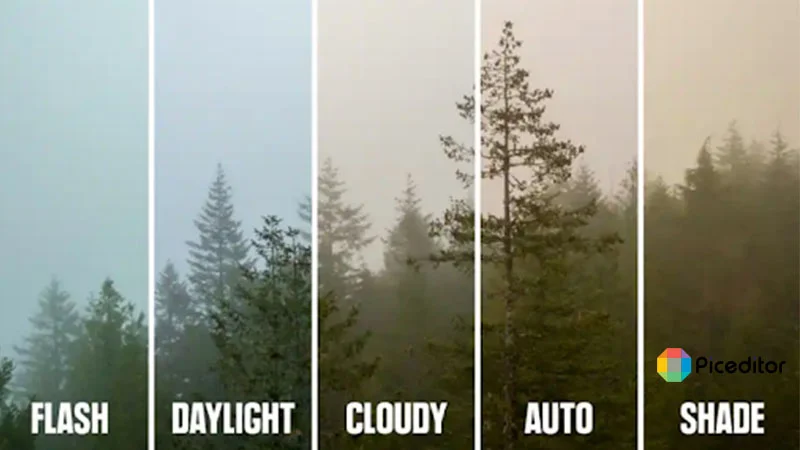
Don’t need to mix exposure levels and color levels. White balance is related to color levels, not to exposure levels. This feature is applied when the image has an overall color tone and shows unnatural. You can adjust the white balance to fix it. JPG files capture less digital data than raw files. These files offer a minimum white balance adjustment than raw files.
Most of the editing tools have a “temperature” and “tint” slider instead of “flash”, “daylight”, “cloudy”, “auto”, and “shade”.
4. Adjust Contrast and Exposure
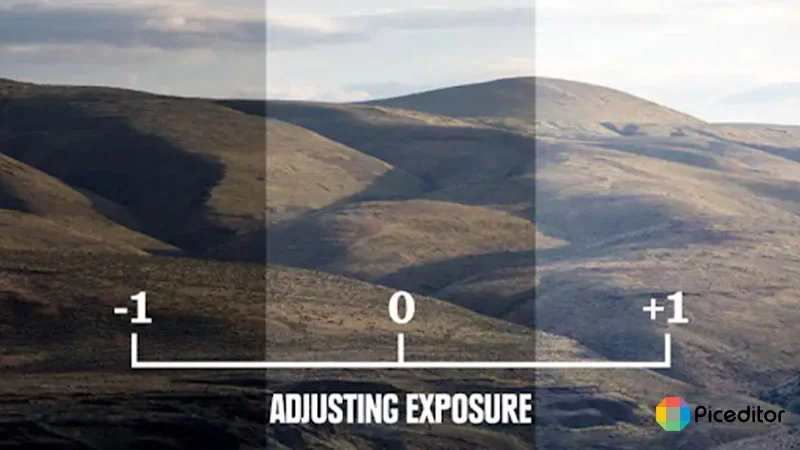
The photo exposure feature or tool makes the photo exactly as dark and bright as you need. The term “ Noise” is sometimes introduced instead of exposure. It is important to set the right exposure when you first take the photo.
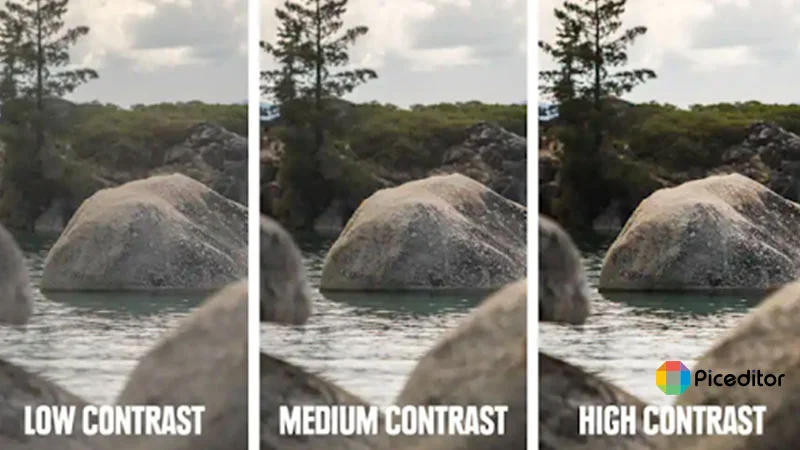
The range of light and dark tones is called contrast. You can see in the image all high and low, dark and very light contracts. At the extra low low tone, no element is appear in the frame of an image. Medium contrast is the best that avoids either of those extremes.
5. Adjust Saturation and Color Vibrancy
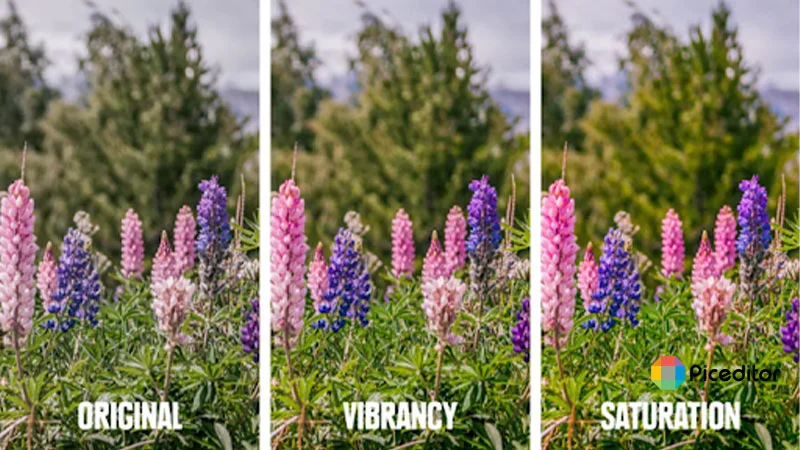
First to understand the distinction between the two – When you increase saturation, all colors in the frame get more intense. Increased vibrancy can increase color intensity in neural and bright colors. After applying the white balance effect, saturation and vibrancy further refine the colors of your image.
6. Flip and Adjust the Sharpness
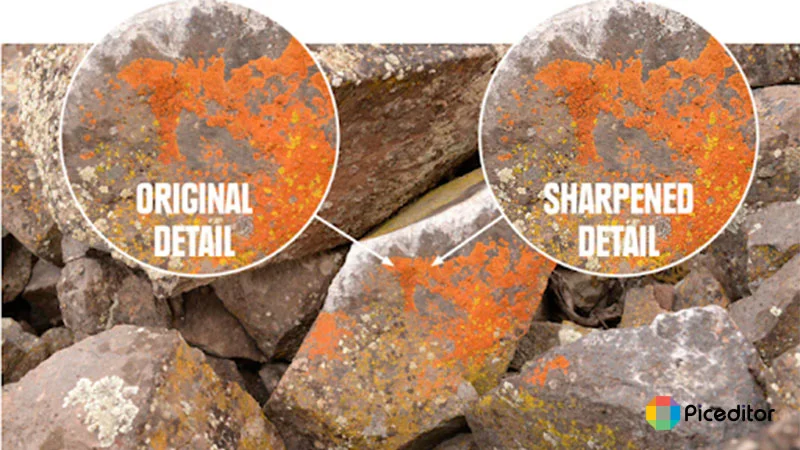
You can experience more clarity by applying the sharpness feature. It gives a punchier look to an image. Manage sharpness, too much create an unnatural effect around objects in the frame.
The flip image feature can rotate images in all directions. You can set it in clockwise and anti-clockwise directions.
7. Finalize and Save the Image
Once you have done all of your editing, set your photo and save it in the gallery. If you need more, make additional editing adjustments where you want.
Save your files in jpg before sharing, emailing, or printing because raw files are so large.
Other Advance Features:
Here are some additional features offered by advanced editing tools:
- Change the Background of the photo
- Remove Object
- Add and Adjust Emojis
- Correcting Colors
- Retouching
- Restore and resize images
- Cartoon features
- Sketching and Drawing
- Create shadows
- Image Masking
Conclusion:
Photo Editing will expand your skills and scope. You will be a successful photographer and photo editor app if you built a little more passion and learn editing skills. Editing skills help you to shape your desired dream images and are also a good source of earnings too. In this article, you may learn about pic editor features and editing techniques.
Frequently Asked Questions
A lot of online free photo editors are available on the internet with advanced features. You can enhance your image quality and beauty with them.
First of all select the right and easy tool then open and read the complete guide and learning courses.
1. Skillshare
2. Picmonkey
3. Adobe Photoshop Tutorials
4. RggEdu
5. Piceditor.co
6. Creativelive.com
7. Philearn Lightroom Killer Tips
By using an Advanced quality featured tool you can be a professional. Following these steps:
1. Create a style
2. Select the photo editor
3. Add raw photo
4. Try HRD photography
5. Remove chromatic aberration
6. Adjust the white balance
7. Adjust contrast
8. Make colors pop.