Teaching Photo Editing In The Classroom Guide
Photo editing in the classroom is one of the best ways to express your creativity level for learners. For students, it is a fantastic hobby to edit their favorite photos according to their point of view regarding this beautiful world.
In this article, we will explain what photo editing is, how to do it, and the importance and benefits of photo editing practice for a beginner. So we don’t waste any more time, let’s get started!
What is Photo Editing In Teaching?
Image editing is just changing a previously taken photo shot. These adjustments could involve changing any part of it or enhancing its visual appeal by utilizing various tools and programs.
How to Do Photo Editing in The Classroom On Your Computer?
In the classroom, you can simply teach your student these photo editing steps by using the computer.
The photo editing steps are as follows:
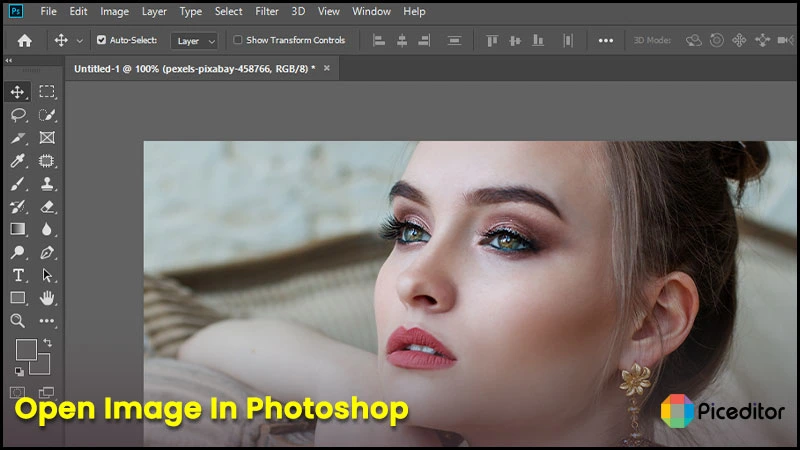
1. Open the Image In Photoshop
First, open Photoshop on your desktop or laptop. You will see some top-bar menus. Click on the file menu. From here, click on the open sub-menu. A pop-up box will appear, allowing you to choose an image from your computer.
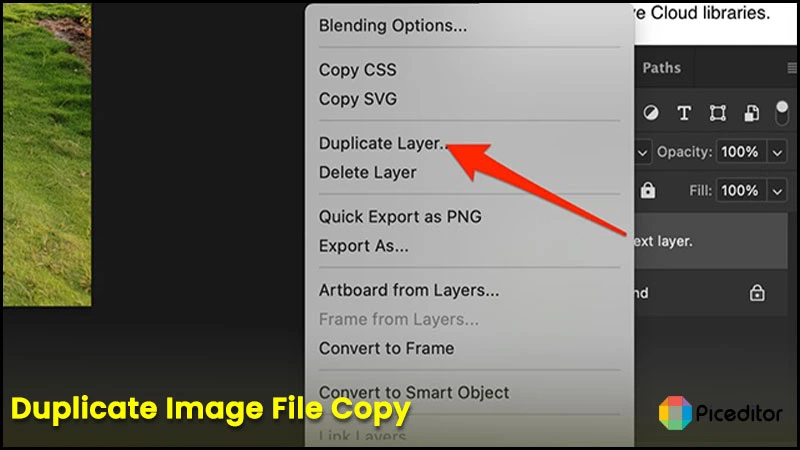
2. Duplicate Image File Copy
We always suggest working on duplicate file copies. If you make a mistake, you can easily fix it. Click the right mouse button on the image layer to duplicate a file. There is a choice to duplicate the layer. Simply click it. You’ll get a duplicate of your image layer.
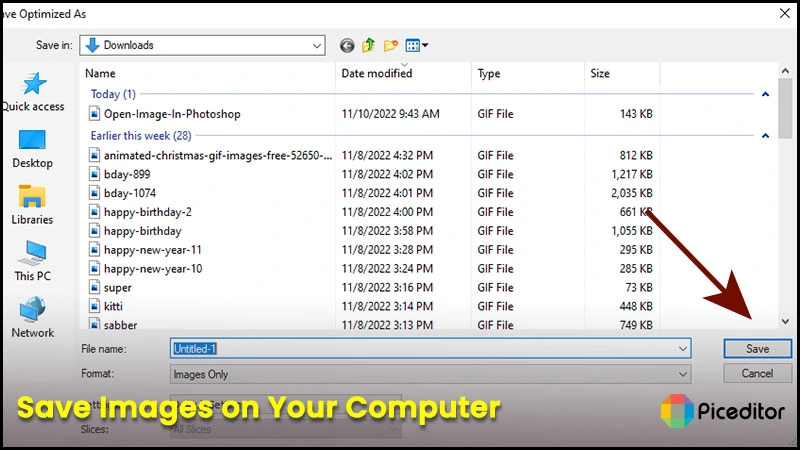
3. Save Images on Your Computer
Once you’ve finished editing, click once more on the File menu in the top menu bar. Click the save as button at this point. The formats you choose to save will be presented to you in a pop-up box.
Photoshop Menus
To do photo editing in the classroom you must know about the menu of photoshop. Following are the main components that include in the photoshop menu.
- File
The standard Open, New, Save, Save As, and Printing options are available under File in most software.

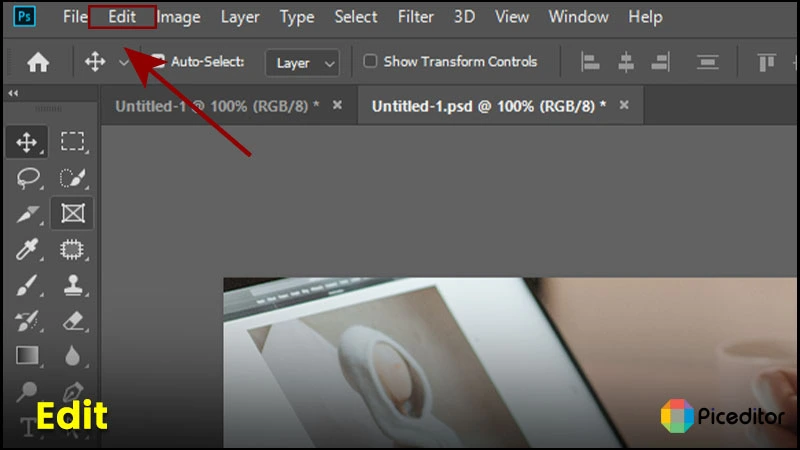
- Edit
Undo, redo, cut, copy, paste, spell check, and locate and replace text capability are other well-known items on the Edit menu. Additionally, it offers various functions that are exclusive to Photoshop, such as the ability to transform, configure brushes, and choose between stroke and fill.
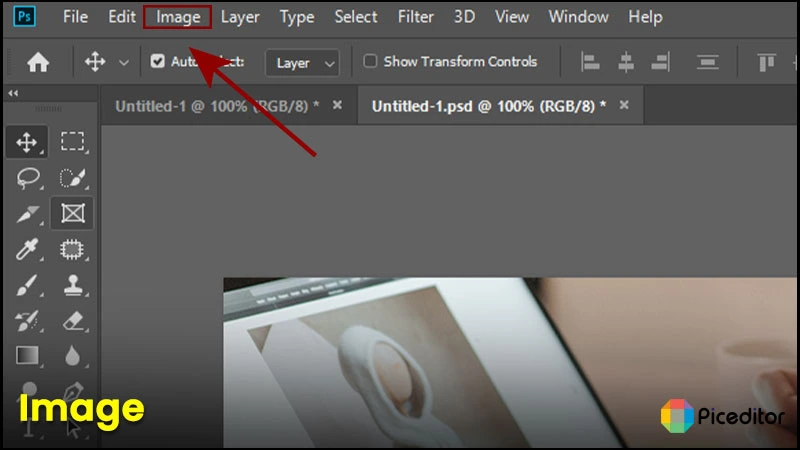
- Image
You can modify the image’s overall characteristics using the Image menu. Changing the size of the canvas, color mode, and cropping as well as the image’s color, contrast, and saturation.
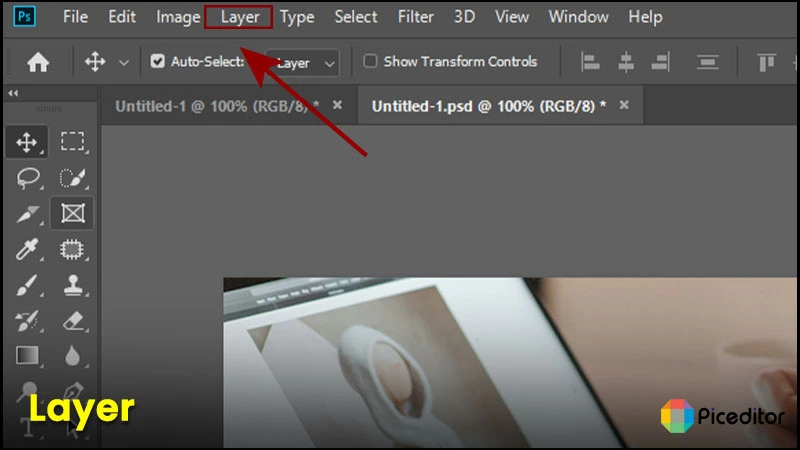
- Layer
You may manage the layers using the Layer menu. Layers can be added, removed, or duplicated, and items on layers can be aligned and blended.
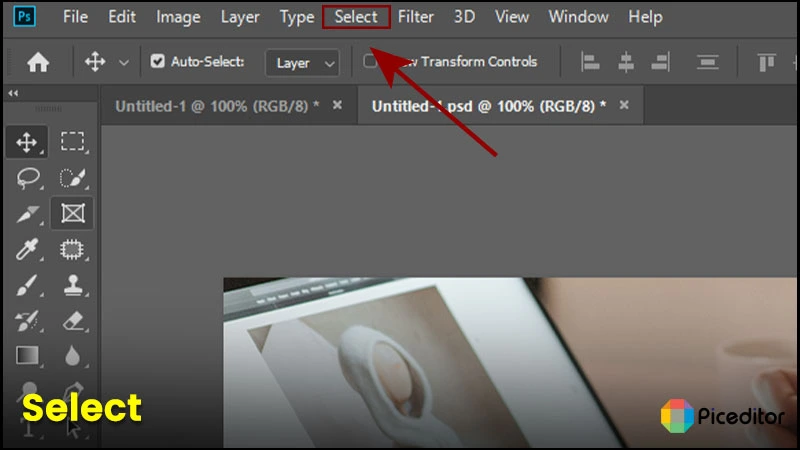
- Select
You can define sections in your photographs that you want to change with Select.
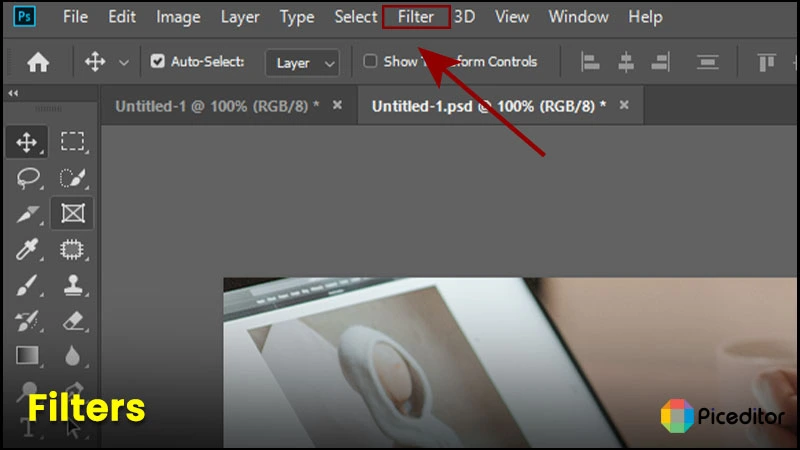
- The filters
You can add filters as effects to your images to give them a variety of distinct styles.
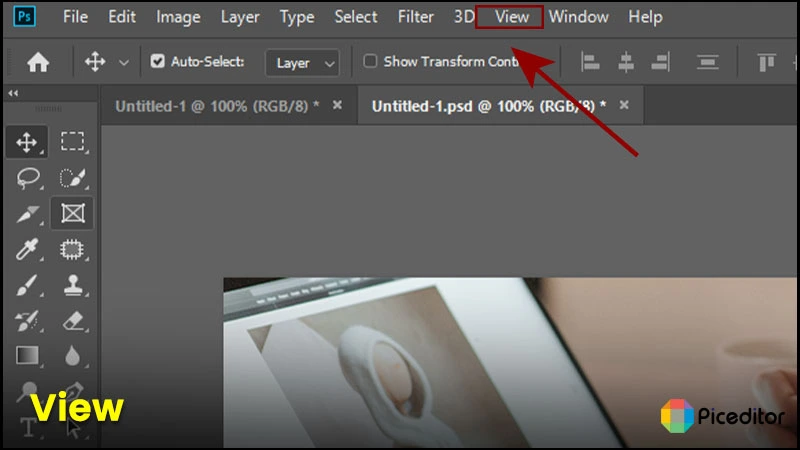
- View
View offers zooming in and out capabilities, as well as the ability to reveal and conceal certain elements of the canvas, such as item alignment grids and guides.
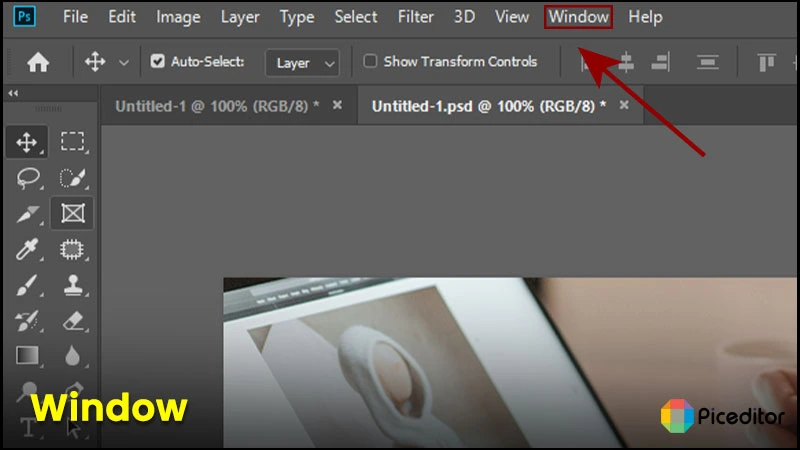
- Window
You can manage the workspace and restore any palettes or tools you couldn’t find using Windows.
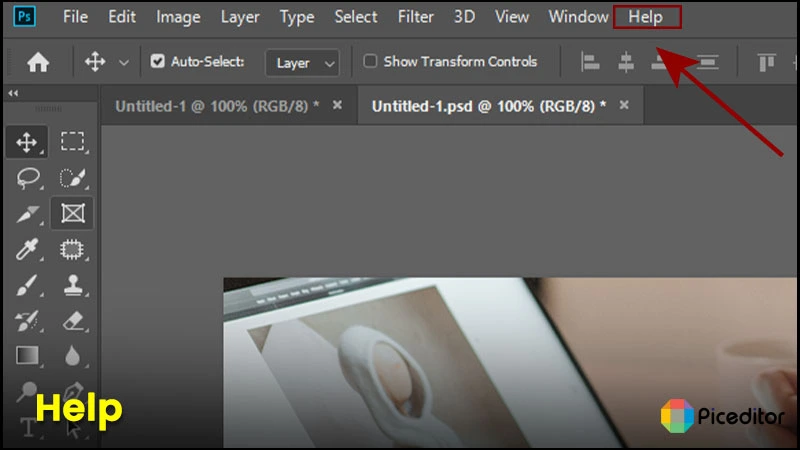
- Help
Help provides exactly what it says on the tin—it displays help subjects to aid you.
Basic Photo Editing Tools For Classroom Guide
There are some basic photo editing project tools, and through these students can learn the basics of editing.
- ToolsMarquee Tool:
Use the four marquee tools to make selections by drawing rectangles, circles, a single row, or a single column.
- Lasso, polygonal lasso, and magnetic lasso tools:
With the lasso, polygonal lasso, and magnetic lasso tools, The “marching ants” that result from this will emphasize the area you’ve chosen.
- Magic Wand and Quick Selection Tool:
These tools, such as the Magic Wand and Quick Selection Tool, base the selection region on color and a tolerance parameter (as well as whether it is a contiguous area of color). According to the tolerance setting, which decides which colors are comparable to the region you’ve picked, a choice is made.
- Ink Tool
With the pen tool, you may create a selection in the Paths Palette by drawing a circle with points, lines, and curves.
- Rapid Mask
To pick only the highlighted region, use the Quick Mask tool (shown at left) to draw a box around it with the foreground color set to black.
Different Types of Image Editing In Classroom Guide:
There are various types of image editing. From these, some image editing is straightforward. Students can make this by applying less effort.
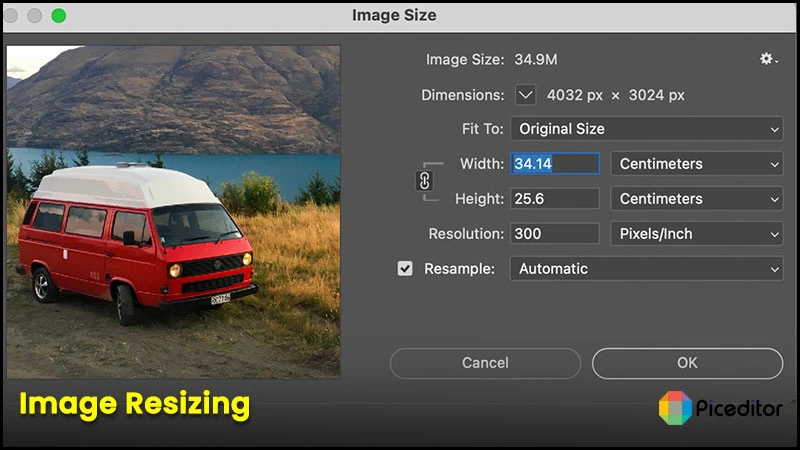
- Image Resizing
Resize the existing image on photo editing software.
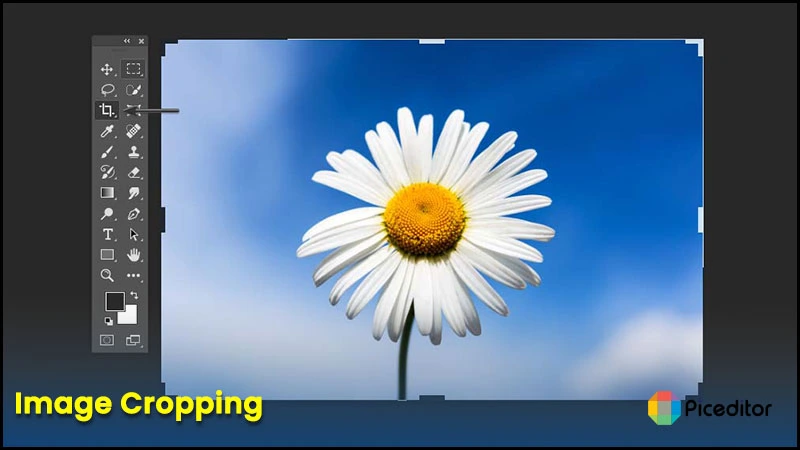
- Image Cropping
Crop your photographs to adjust their dimensions.
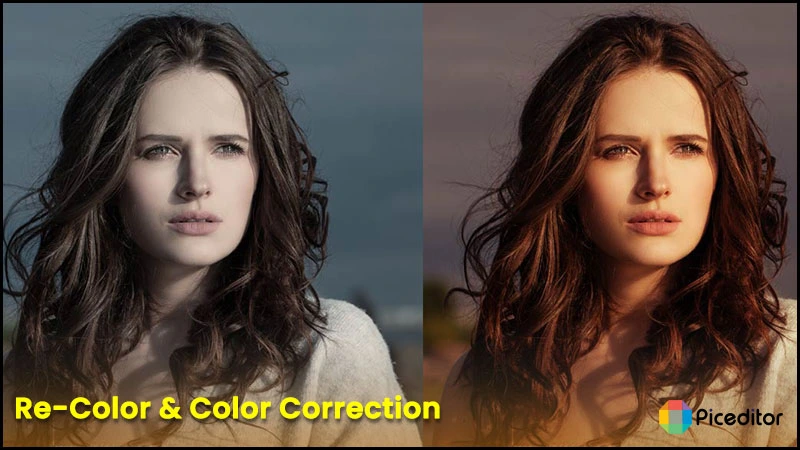
- Re-Color & Color Correction
Change your picture’s color or add an entirely new color in the photo, and fix your existing image color.
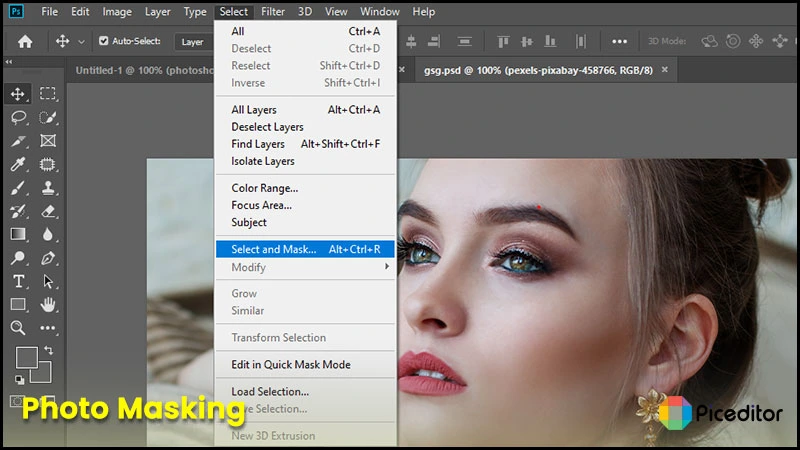
- Photo Masking
This technique is applied on hair and fur portions for hiding or revealing.
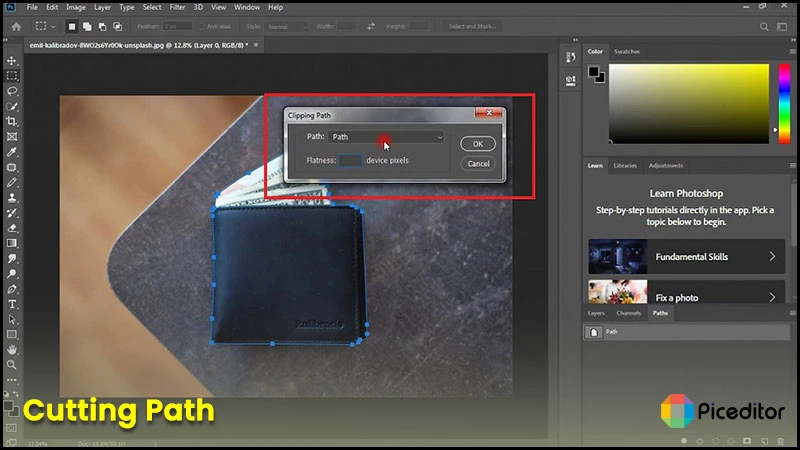
- Cutting Path
It is the technique of removing a topic or component of an image from its background.
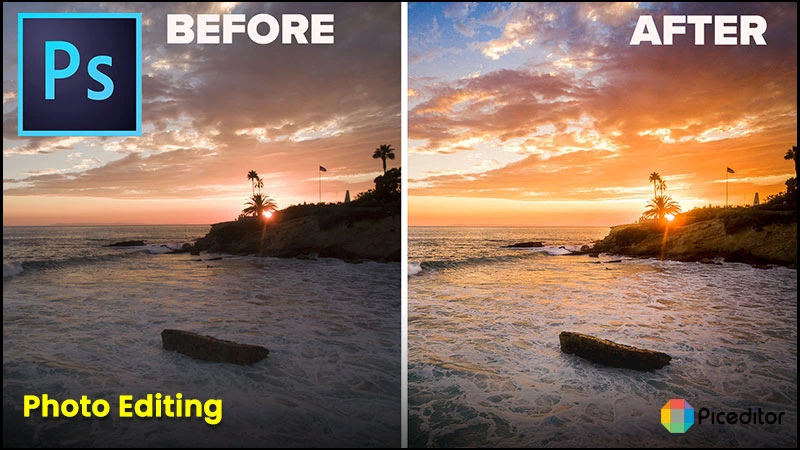
- Photo Editing
It is a procedure for improving an already-existing image.
Conclusion:
So, after reading this article hope all your confusion gets resolved regarding photo editing in the classroom guide, its types, the importance of photo editing projects, its benefits, and much more. And you as a teacher can easily guide your students about it. Moreover, you can use the mentioned photo editing software for better results. Now go, and enjoy happy editing.